
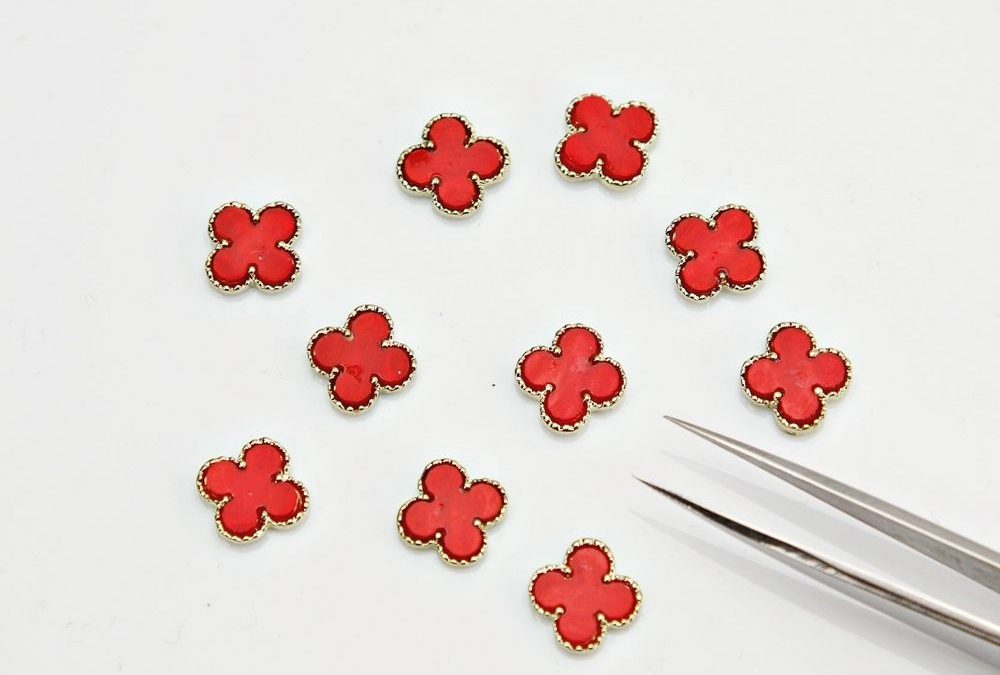
You will create timeless accent nails with confidence.
Use the Red Big embossed cherry-red clover as your focal charm. For the exact piece I recommend, see Red Big Clover Charms before you begin.
How should you prepare the nail?
Work on clean, dry nails. Remove oils with a no-wipe cleanser. Lightly buff only the top coat. Do not over-file natural nail. Wipe again and apply a thin base gel. Cure to the manufacturer instructions of your gel system.
Which six salon looks should you try?
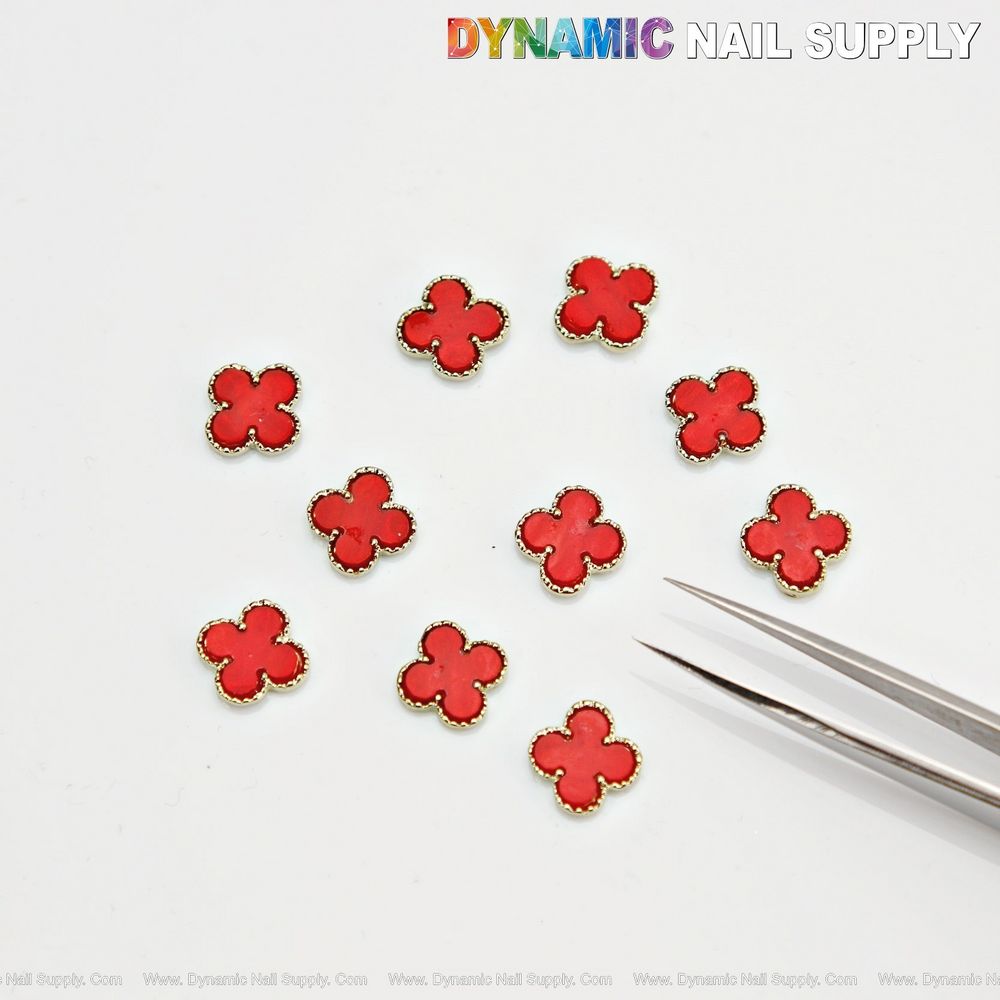
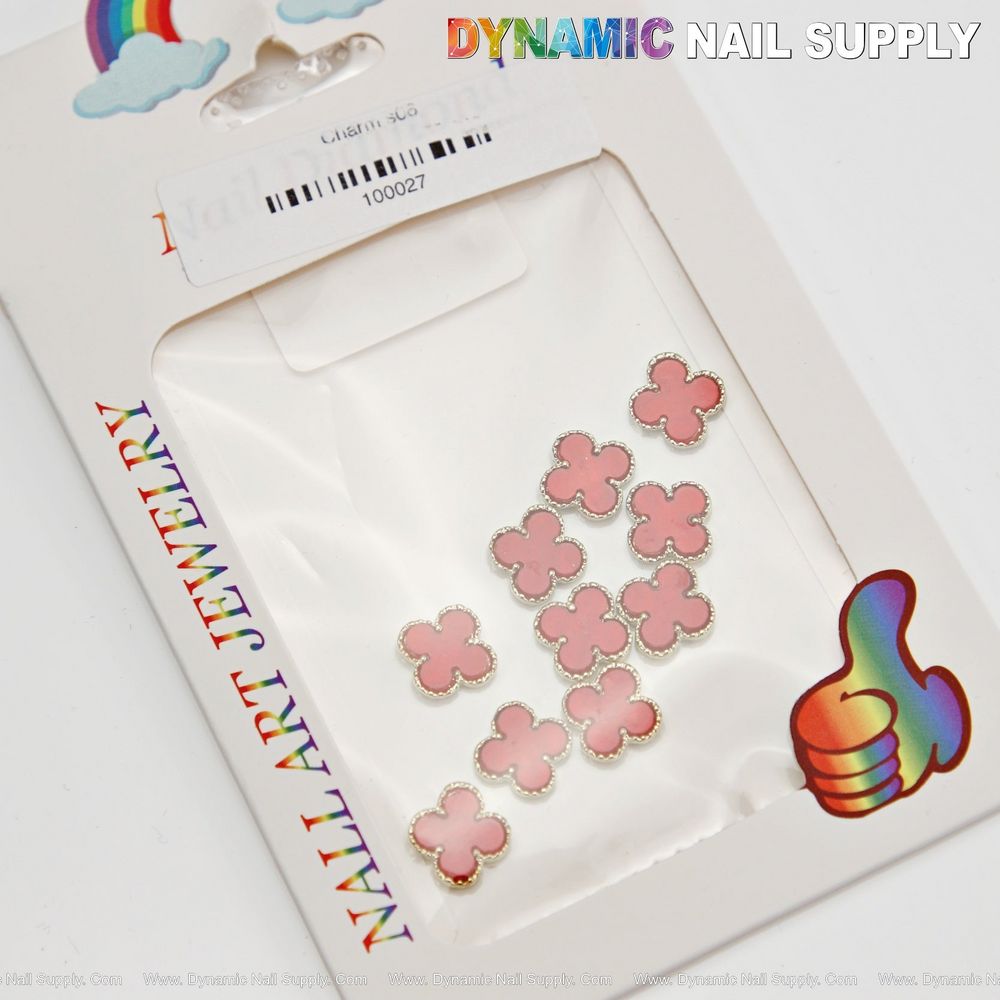
Each look uses the same small four-leaf charm with bright cherry-red enamel and a beaded gold rim. Use silver metallic tweezers for precise placement.
1. Classic red single accent
- Apply two coats of glossy red gel. Cure fully.
- Place a tiny drop of builder gel or a spot of gel adhesive at the nail center.
- Pick up the charm with silver tweezers. Lay it flat. Press gently.
- Encapsulate the edges with a thin layer of clear gel. Cure and finish with a glossy top gel.
2. Festive gold-tipped holiday nail
- Paint deep green base. Cure.
- Add gold foil to tip. Seal with a thin layer of gel.
- Place the cherry-red clover near the cuticle for contrast.
- Lock with a high-shine top gel and cure.
3. Retro mod multi-charm cluster
- Start with a neutral cream or beige gel base. Cure.
- Arrange two or three charms in a diagonal cluster.
- Use small dots of builder gel as anchors. Cure each placement briefly.
- Finish with a durable top gel over the cluster edges.
4. Minimalist luxe on matte black
- Apply matte black polish. Cure or allow to set if a lacquer.
- Use a glue designed for nail art or a gel adhesive under the charm.
- Place a single clover center-top for strong contrast.
- Use a glossy resin dab only around the rim to preserve the matte field.
5. Valentine’s soft-pink vignette
- Blend a soft pink gradient. Cure each layer.
- Add tiny heart decals near the free edge.
- Anchor the cherry-red clover above the smile line.
- Seal with a flexible top gel for comfort and shine.
6. Retro single cameo on a cream French
- Create a cream French base with a thin white crescent tip.
- Place the clover at the nail corner for a vintage cameo feel.
- Capture the charm with a thin bead of builder gel around the base only.
- Cure and add a final gloss coat.
How do you maintain and extend wear?
- Keep the charm edges sealed. Thin resin or builder gel works best.
- Topcoat the whole nail weekly if you wear them long-term.
- Avoid heavy scraping. The beaded gold rim is decorative and can catch.
- Re-cure any softened gel immediately to prevent lift.
How should you clean, store and handle the charms?
Handle with silver tweezers only. Do not touch the enamel face with fingers. Clean residues with a soft brush and isopropyl wipe. Store flat in a padded tray or a small compartment box. Keep them dry. Avoid prolonged heat or direct sunlight.
What basic tools and products will help?
- Precision silver tweezers for placement.
- Fine-tipped brush for adhesive control.
- Builder gel or nail art glue for secure anchoring.
- No-wipe and final top gels for shine and protection.
Are there safety or handling notes?
These are small appliqués. Keep out of reach of children. Do not ingest. Use nail-specific adhesives. If you experience prolonged lifting or skin irritation, remove charms and consult a professional. Wear safety glasses when curing multiple layers near the face.
What routine keeps them salon-fresh?
Checklist:
- Prep: cleanse, buff, base gel.
- Placement: use tweezers and small gel spots.
- Seal: thin builder gel around edges.
- Finish: high-shine top gel and cure.
- Maintain: weekly top-up and gentle cleaning.
These cherry red clover accent designs are built to last. They read bold. They read refined. Enjoy creating salon-quality looks with calm precision.